Table of content
Step 1: Create a project
Step 2: Create a connection with the database
Step 3: Create a blade view file
Step 4: Create a Controller
Step 5: Create Routes
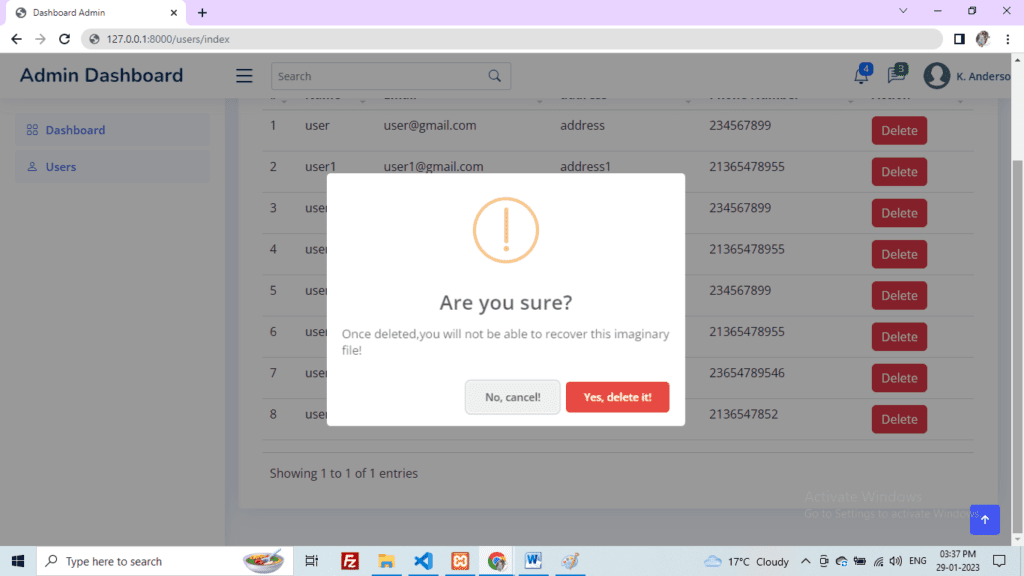
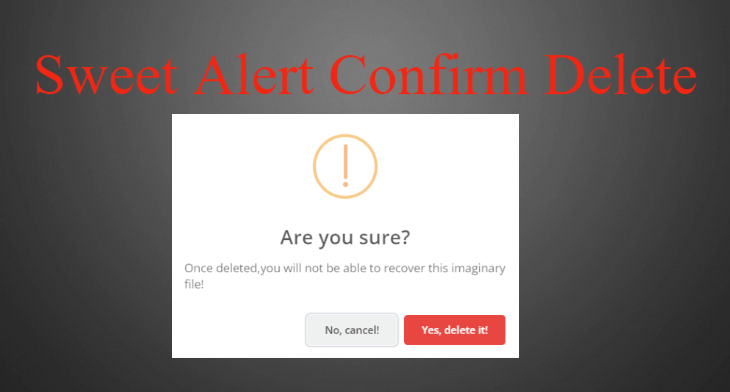
Step 6: Create a sweet alert script and add the CDN link
On clicking the button a sweet alert popup will open for confirmation. If you don’t want to delete it, you can cancel it, otherwise, you can delete it.
Step 1: Create Project –
The first step is to create a project using the below command.
composer create-project --prefer-dist laravel/laravel AdminProject Step 2: Create a connection with the database –
The second step is to create a connection in the .env file with the database for example see the code below and after that migrate all of the tables using with php artisan:migrate command.
.env file
DB_CONNECTION=mysql
DB_HOST=127.0.0.1
DB_PORT=3306
DB_DATABASE=admin_project #database name
DB_USERNAME=root
DB_PASSWORD=
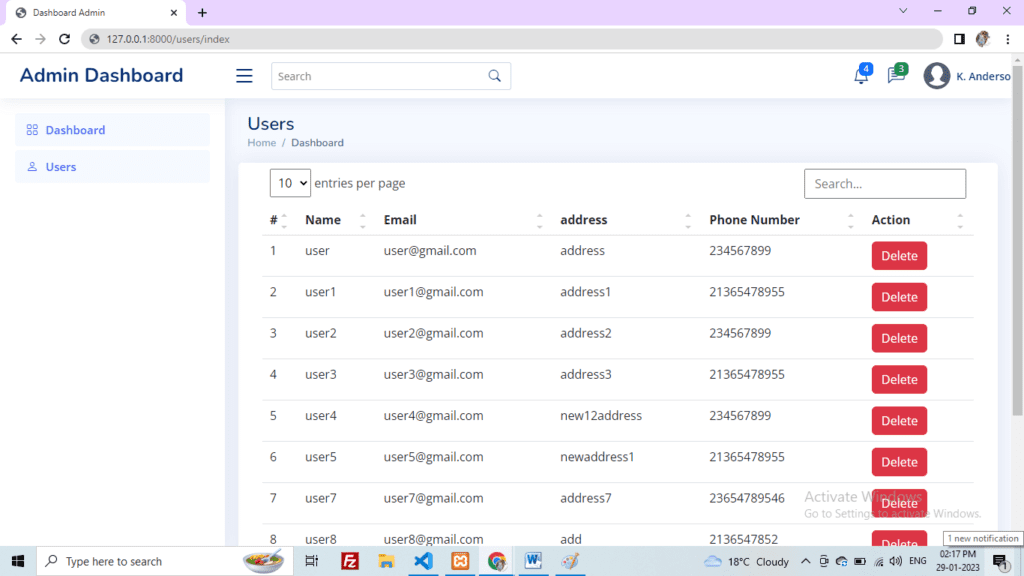
The third step is to create an index.blade.php view file. Then the data from the database is to be listed in table format. For example, see the index file given below :
resources\views\admin\users\index.blade.php
<section class="section">

            <div class="row">

                @if( session('success'))

                <div class="alert alert-success alert-dismissible fade show mt-4" role="alert">

                    {{ session('success') }}

                    <button type="button" class="btn-close" data-bs-dismiss="alert" aria-label="Close"></button>

                </div>

                @endif

                <div class="card">

                    <div class="card-body">

                        <table class="table datatable">

                            <thead>

                                <tr>

                                    <th scope="col">#</th>

                                    <th scope="col">Name</th>

                                    <th scope="col">Email</th>

                                    <th scope="col">address</th>

                                    <th scope="col">Phone Number</th>

                                    <th scope="col">Action</th>

                                </tr>

                            </thead>

                            @foreach($users as $key => $user)

                            <tbody>

                                <tr>

                                    <td>{{++$key}}</td>

                                    <td>{{$user->name}}</td>

                                    <td>{{$user->email}}</td>

                                    <td>{{$user->address}}</td>

                                    <td>{{$user->phone_number}}</td>

                                    <td><a href="javascript:void(0);" data-href="{{ route('admin.users.delete', ['id' => $user->id]) }}" class="btn btn-danger delete">Delete</a></td>

                                </tr>

                            </tbody>

                            @endforeach

                        </table>

                    </div>

                </div>

            </div>

            </div>

        </section>
Step 4: Create Controller –
The fourth step is to create a controller and create functionality in the controller. The controller create with using the below command :
php artisan make:controller UserControllerapp\Http\Controllers\UserController.php
public function index()

    {
        $users = User::all();

        return view('users.index', compact('users'));
    }

    public function destroy($id)

    {
        User::where('id', $id)->delete();
        return redirect()->route('users.index')->with('success', 'User deleted successfully.');

    }
Step 5: Create Routes –
The fourth step is create routes
routes\web.php
Route::group(['prefix' => 'users', 'as' => 'users.'], function () {

    Route::get('/index', 'Admin\UserController@index')->name('index');

    Route::get('/delete/{id}', 'Admin\UserController@destroy')->name('delete');

});
After creating the index view file, the project will look like the below screen :
Step 6: Create a sweet alert script and add CDN links before the </body> tag –
The last step is to create the script for sweet alert and add the CDN link. script is working on the click button. when the button is clicked then the popup will open.
<script src="https://cdnjs.cloudflare.com/ajax/libs/sweetalert/2.1.2/sweetalert.min.js"></script>


    <script>


        $(".delete").click(function() {


            var _href = $(this).data('href');


            swal({


                    title: "Are you sure?",


                    text: "Once deleted,you will not be able to recover this imaginary file!",


                    icon: "warning",


                    buttons: ["No, cancel!", "Yes, delete it!"],

                    dangerMode: true,


                })


                .then((willDelete) => {


                    if (willDelete) {


                        window.location.href = _href


                    } else {


                        swal("Your imaginary file is safe!");


                    }


                });


        });


    </script>
OutPut –