In this article, We learn how to save form data into a database
- Run commands
- Create database
- Create model and migration
- Create controller and functionality
- Create view file and routes
- Open your browser and submit form and data submit in your database.
# First of all your Xampp Server is on
- If Xampp Server is not in your system then Download the Xampp server from the below link and install after download.
https://www.apachefriends.org/download.html
# Composer is installed in your project directory.
- If Composer is not in your system then Download the composer from the below link and install it in the xampp directory after downloading.
https://getcomposer.org/download
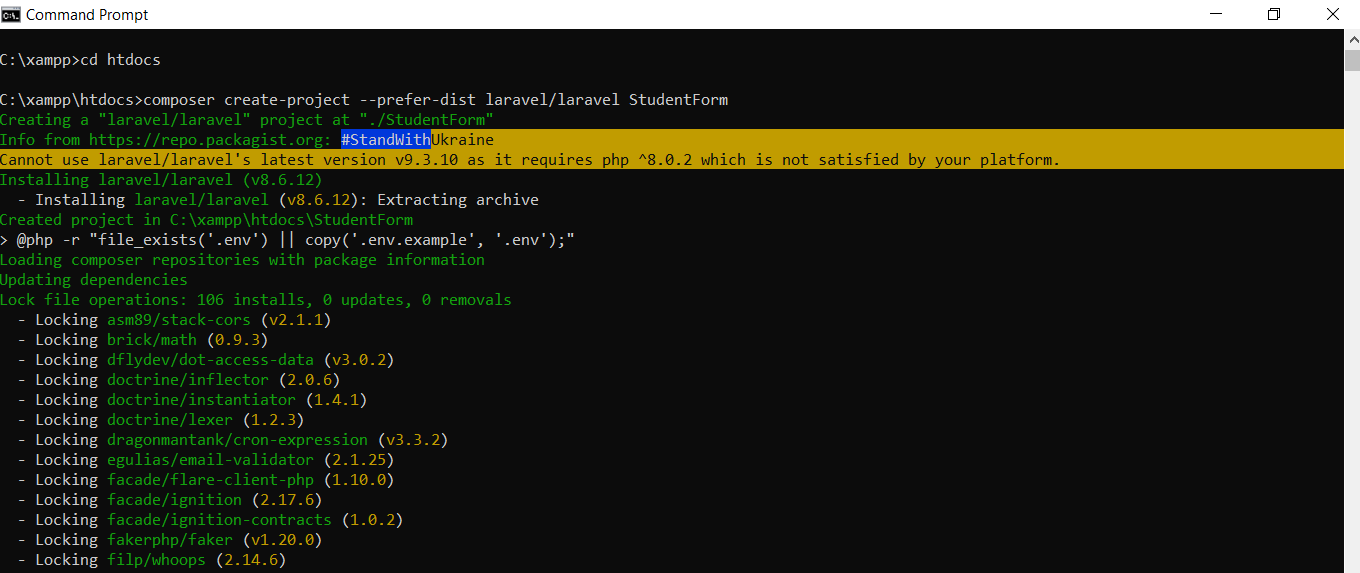
Step 1 :- Create a project by running the below command on your command prompt
composer create-project --prefer-dist laravel/laravel YourProjectName
- After running the command the screen will look like the image below
Step 2 :-
- Open your project in your editor (eg: Visual Studio Code Editor)
- Run the below command on the terminal or command prompt and your project will be run
php artisan serve
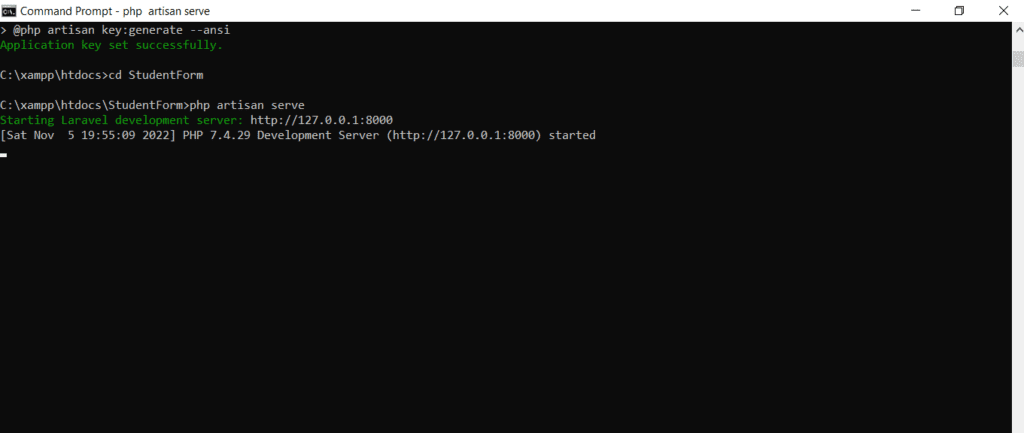
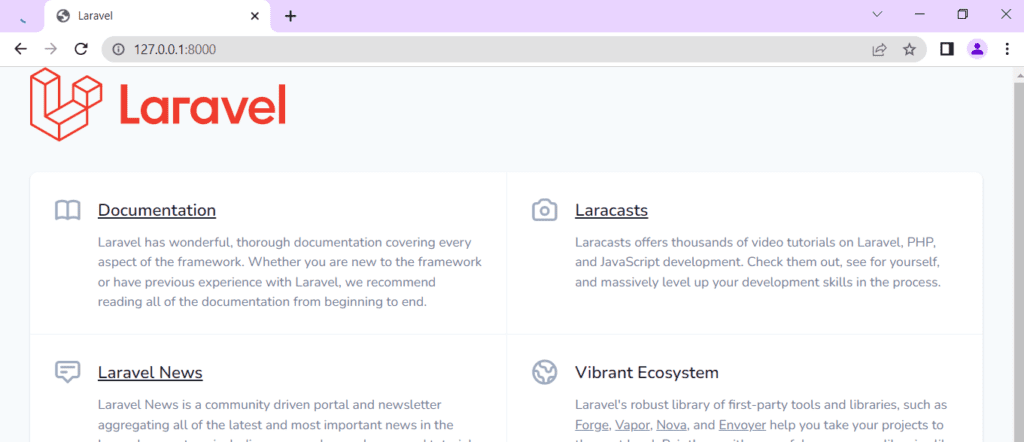
- After the project is run, this link http://127.0.0.1:8000 will show on the terminal, copy it and paste it on the browser and run
- Your project looks like the below image on your browser
Step 3 :-
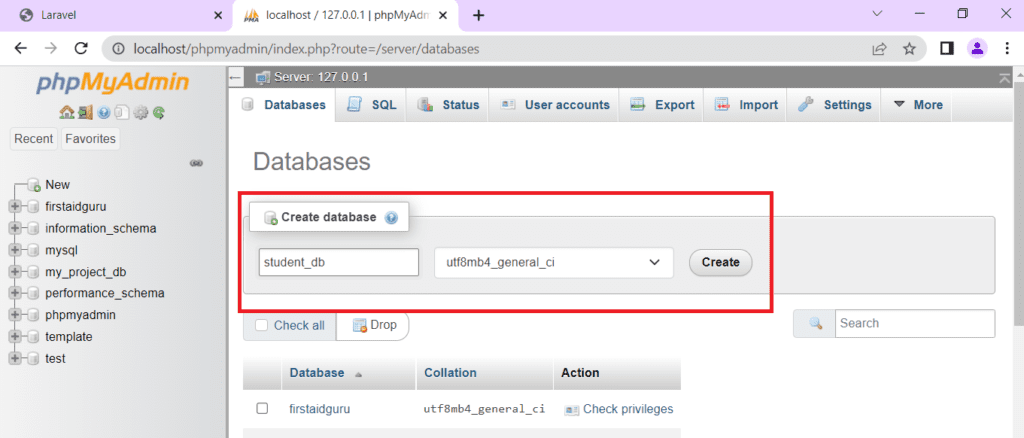
- Open MySQL (http://localhost/phpmyadmin/) and create a database. look below image
- Open your .env file from your project and set your database name and save the file
         DB_CONNECTION=mysql
         DB_HOST=127.0.0.1
         DB_PORT=3306
         DB_DATABASE=student_db
         DB_USERNAME=root
         DB_PASSWORD=
Step 4 :-
- Create model and migration(table) using the below command
- -m for creating the migration
php artisan make:model StudentModel -m 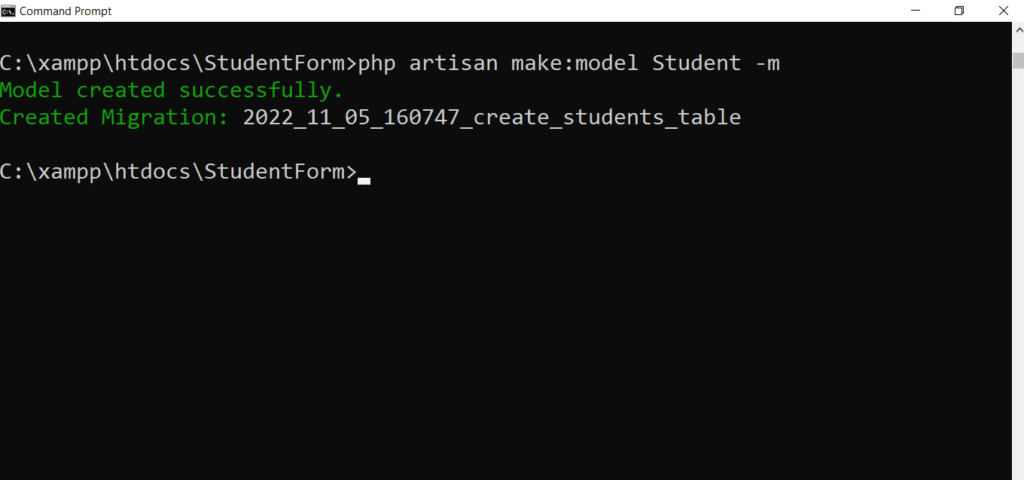
- Open your created migration(table) file and add columns like below image

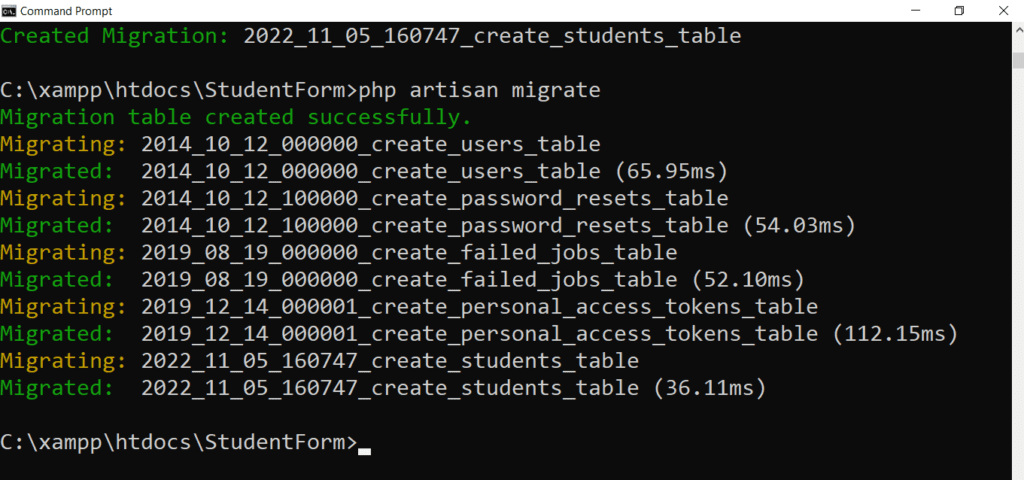
- After adding columns run the below command into the terminal or command prompt. This command migrate the table into your database.
php artisan migarte- Database tables look below image
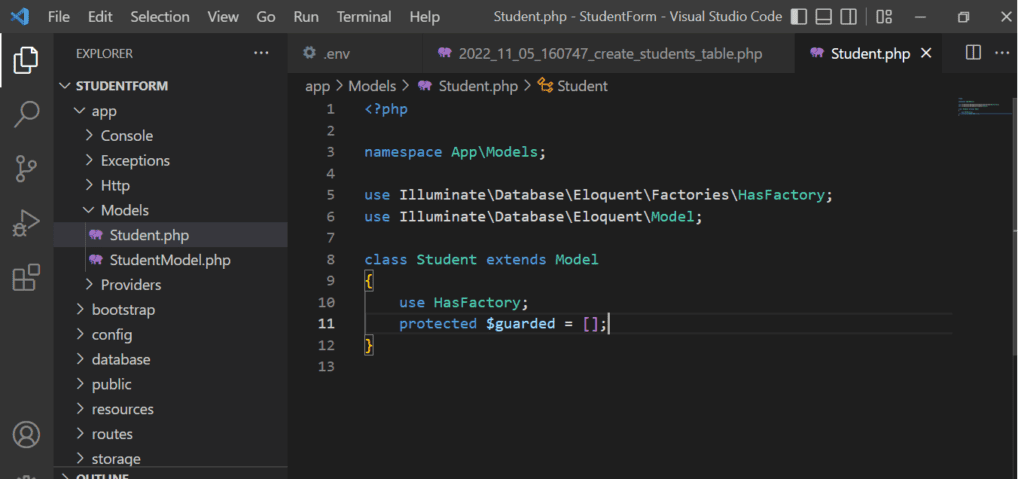
- Open the created Model and add a guarded attribute.
- The guarded attributes are used to specify all fields of the migration.
    <?php

    namespace App\Models;

    use Illuminate\Database\Eloquent\Factories\HasFactory;

    use Illuminate\Database\Eloquent\Model;

    class Student extends Model

    {

        use HasFactory;

        protected $guarded = [];

    }
Step 5 :-
- Create a controller using the below command
php artisan make:controller StudentController - Create store data functionality in your controller
    <?php

    namespace App\Http\Controllers;

    use Illuminate\Http\Request;

    use App\Models\Student;

    class StudentController extends Controller

    {

        public function index()

        {

            return view('index');

        }

        public function store(Request $request)

        {

            $request->validate([

                'first_name' => 'required',

                'last_name'  => 'required',

                'email'  => 'required',

                'phone_number' => 'required',

                'address'   => 'required',

            ]);

            Student::create([

                'first_name'  => $request->first_name,

                'last_name' => $request->last_name,

                'email' => $request->email,

                'phone_number' => $request->phone_number,

                'address'  => $request->address,

            ]);

            return redirect()->route('index')->with('success', "student data created successfully");

        }

    }
Step 6 :-
- Create a index.blade.php file in the resources\view folder.
    <!DOCTYPE html>

    <html>

    <head>

        <meta name="csrf-token" content="{{ csrf_token() }}">

        <link rel="stylesheet" href="https://stackpath.bootstrapcdn.com/bootstrap/4.5.2/css/bootstrap.min.css">

        <title>Student Form</title>

    </head>

    <body>

        <div class="container mt-4">

            <div class="card">

                <div class="card-header text-center font-weight-bold">

                    Student Form Data Save Into Database

                </div>

                <div class="card-body">

                    <form method="post" action="{{route('store')}}">

                        @csrf

                        <div class="form-group">

                            <label for="firstName">First Name</label>

                            <input type="text" name="first_name" placeholder="Enter Your First Name" class="form-control">

                        </div>

                        <div class="form-group">

                            <label for="LastName">Last Name</label>

                            <input type="text" name="last_name" placeholder="Enter Your Last Name" class="form-control"

                                required="">

                        </div>

                        <div class="form-group">

                            <label for="email">Email</label>

                            <input type="text" name="email" placeholder="Enter Your Email" class="form-control" required="">

                        </div>

                        <div class="form-group">

                            <label for="phone_number">Phone Number</label>

                            <input type="text" name="phone_number" placeholder="Enter Your Phone Number"

                                class="form-control" required="">

                        </div>

                        <div class="form-group">

                            <label for="address">Address</label>

                            <input type="text" name="address" placeholder="Enter Your Address" class="form-control"

                                required="">

                        </div>

                        <button type="submit" class="btn btn-primary btn-block">Submit</button>

                    </form>

                </div>

            </div>

        </div>

    </body>

    </html>
Step 7 :-
- Create routes in the web.php file
    <?php

    use Illuminate\Support\Facades\Route;

    use App\Http\Controllers\StudentController;

    /*

    |--------------------------------------------------------------------------

    | Web Routes

    |--------------------------------------------------------------------------

    |

    | Here is where you can register web routes for your application. These

    | routes are loaded by the RouteServiceProvider within a group which

    | contains the "web" middleware group. Now create something great!

    |

    */

    Route::get('/', function () {

        return view('index');

    });

    Route::get('/', 'StudentController@index')->name('index');

    Route::post('/', 'StudentController@store')->name('store');
Step 8: –
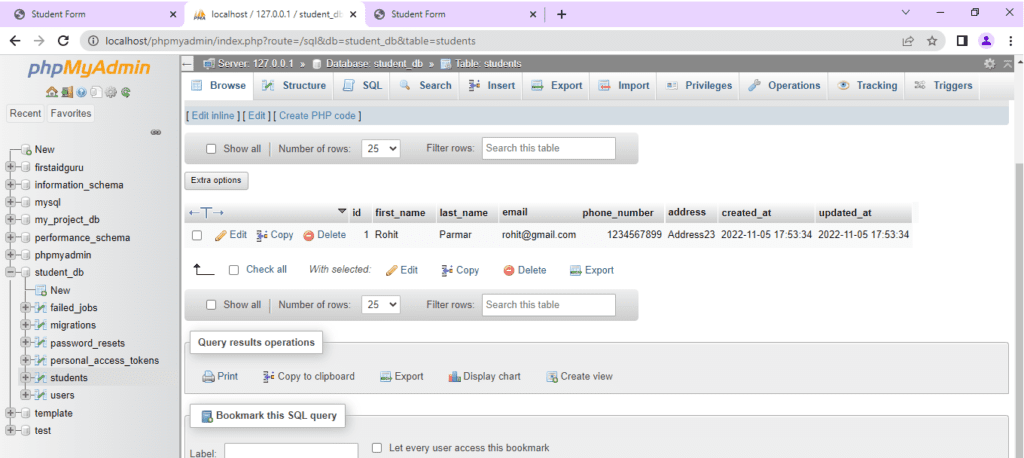
- open your index page in your browser and fill the form and submit
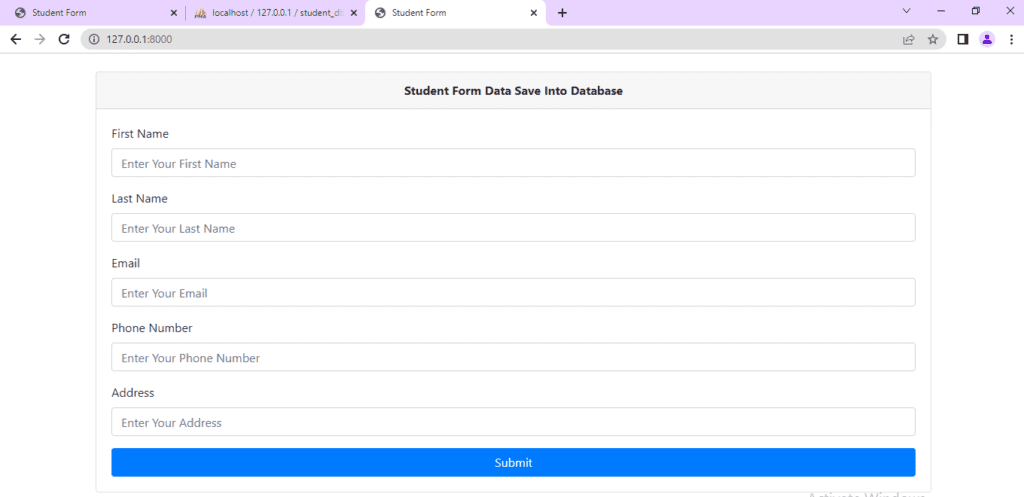
- Check your database your input form data store successfully in your database table.