

In this article we learn step by step how to Create Project in Laravel :
Install Xampp Server
Install Composer
Run the Commands
Create Database
All the steps required to create the project in laravel. So follow all the steps correctly.
If you already have composer and xampp server then skip first two steps and follow the third step.
Step 1 : Install Xampp
To create Laravel Project, you must have Xampp Server on your system. if Xampp Server is not in your system then download it from below link and then install it and turn it on.https://www.apachefriends.org/download.html
Step 1 : Install Composer
Before creating the project of laravel, it is necessary to have composer in your system. if composer is not installed in your system then first download composer from below link and then install.https://getcomposer.org/download/ Step 3 : Create Project Using Below Command :
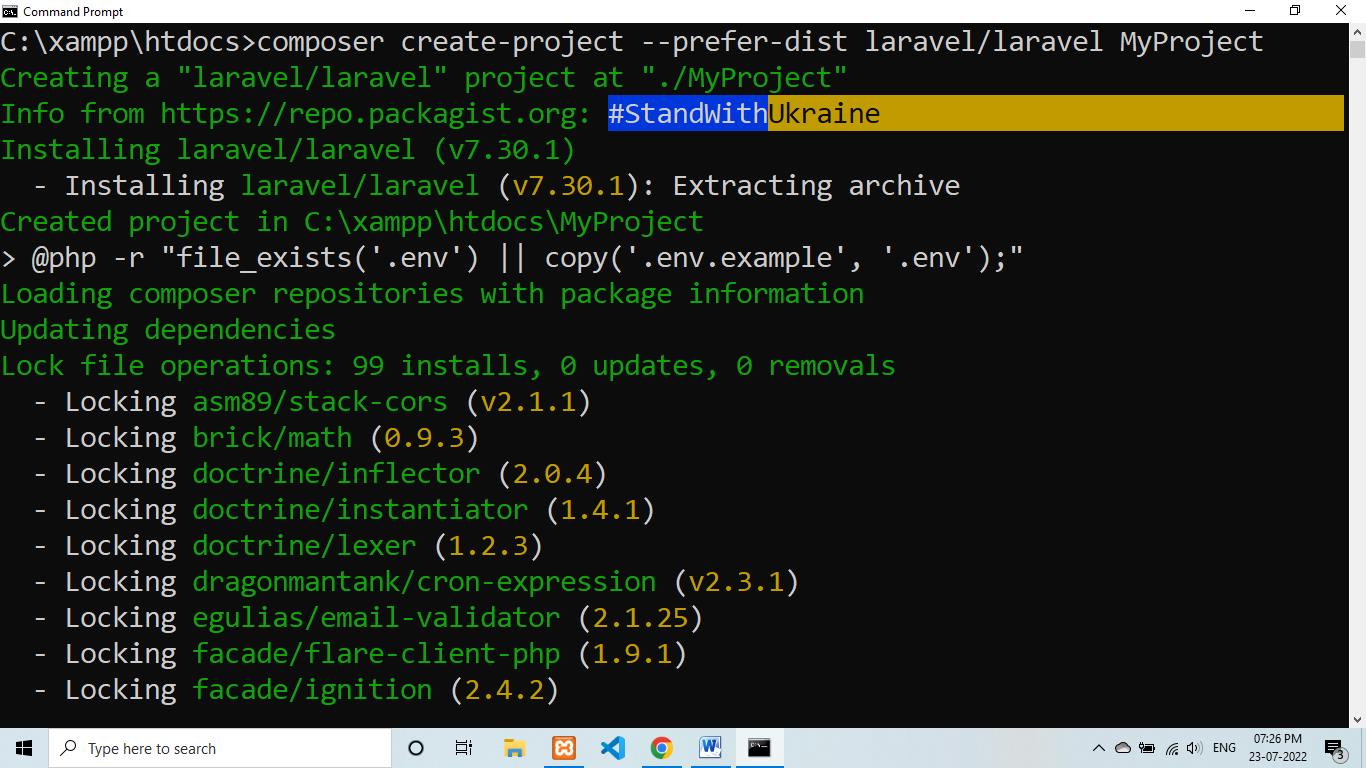
Open the command prompt and go to your xampp\htdocs directory and then run the below command :
composer create-project --prefer-dist laravel/laravel ProjectNameafter running above command your command prompt screen looking like below screen:
After creating the project run the below command in command prompt and your project is running:
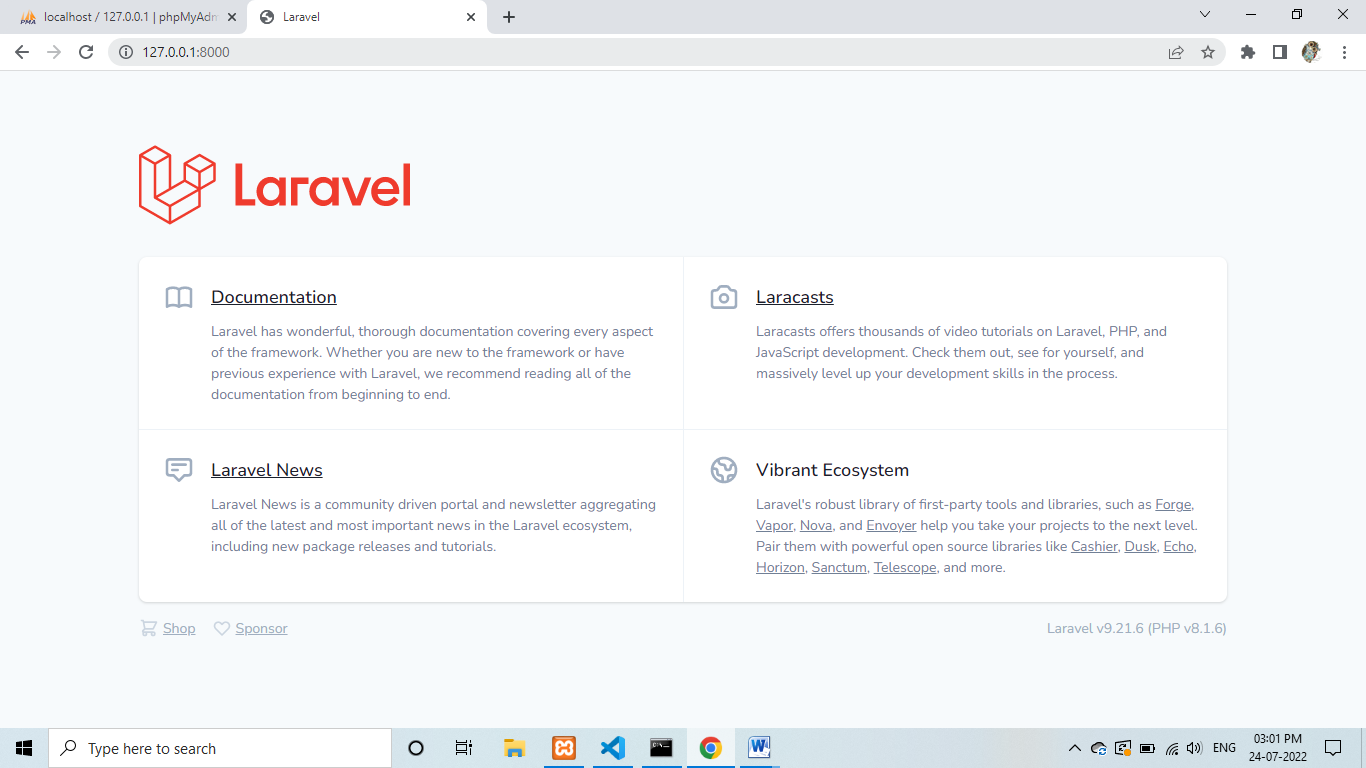
php artisan serve - Copy this http://127.0.0.1:8000 link from the terminal and paste it into your browser
- Your project looks like below screen on your browser :
Step 4 : Create Database
- Open MySQL(http://localhost/phpmyadmin/) and create new database.
- Open .env file from your project and set database name and save the file.
                          DB_CONNECTION=mysql
                          DB_HOST=127.0.0.1
                          DB_PORT=3306
                          DB_DATABASE=my_project_db
                          DB_USERNAMEroot
                          DB_PASSWORD=
Related Article
- How To Create Project In Laravel Framework
- How to Install Composer
- Laravel Artisan Commands
- Validation In Laravel
- How To Save Data In Database – Laravel Framework
- How To Upload Image In Laravel?
- Validation In Laravel – Display Error Message
- Create Empty Object
- Routes in Laravel – With example
- Get Current Date – Different Ways Laravel Example
- Carbon Parse Date and Time In Laravel – Convert String To Date
- strlen() Function – PHP/LARAVEL With Code Example